HELP GUIDE
Industrial Corner Desk


Please see the generic industrial corner desk assembly instructions. Custom desks will vary slightly but the overall process will be very similar.
What you will need to build your industrial corner desk
Two people capable of lifting the wooden frame and to hold the legs during assembly.
Warnings
- Assemble the legs first using the Allen key taped to the packaging(see page 2 for a pictorial description).
- This furniture has been made from previous industrial material. While every effort has been made to make the furniture safe by sanding and cleaning, please ensure you handle the furniture with care as hazards may still exist.
- Keep away from children when building and dismantling.
We, therefore, advise using work gloves to reduce the possibility of splinters or cuts.
Step 1: Connect the legs to the frame
Push part D into the clamps attached to part B and C( as shown in image 1 to the left) until the tube is flush against the back of the clamps. Once flush use the Allen key to join the frame and the legs together. The clamp bolt is underneath parts B and C. Hand tighten the bolts until the frame is stable.
Step 2: Place the table top on top of the frame
Ensure, however, there is no wobble. If there is please tighten the bolts in the areas that are not tight. Once complete simply place the table top (part A) onto the metal frame lining up the legs with the fittings attached underneath of the table top.
Step 3: Attach the table top to the legs using the Allen key
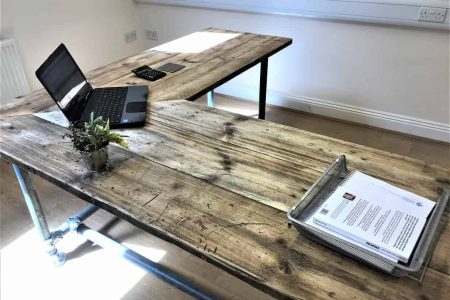
With the legs lined up with the fittings, please tighten the fittings to the legs using the Allen key. Your table is now complete as shown in image 4 below.
We source our Allen keys sustainably from The Metal Store.
For a different selection on legs please click HERE or get in touch.


